This bookbinding tutorial was originally written by myself as a contribution to a LiveJournal bookbinding group, circa 2004. That group is no more, so the tutorial lives on here. Apologies for the poor quality of photos!
Do you want to learn about binding books? Here is everything basic that you need to know in one bookbinding tutorial. Anyone can follow these easy steps.
Preparation
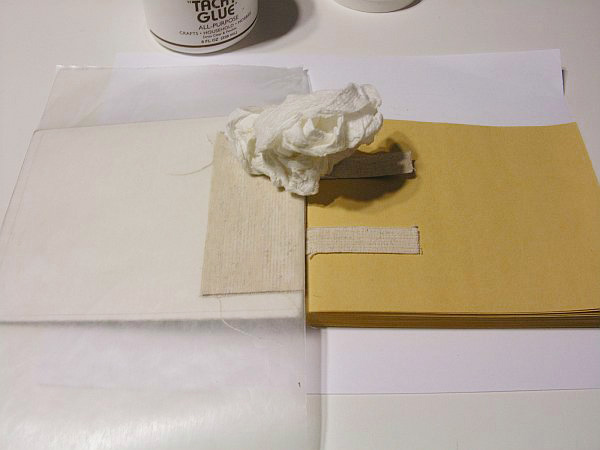
In addition to your book-making materials you will need:
- A large working area (if you don’t have a large area, you will need to clean up well after each stage)
- Both large and small binder clips (I use them gratuitously)
- A waste paper basket close by
- A stack of clean scrap paper
- Pre-cut sheets of wax paper
- A wet cloth (for wiping glue from fingers)
- A dry cloth
Signature block

Start by deciding how many pages and what dimensions you wish your book to be. It is helpful to fold pages with a bone folder. This saves your fingertips and gives you a good crease. Fold on the paper grain (the grain should run parallel with the spine). Here I fold seven signatures with six sheets per signature.

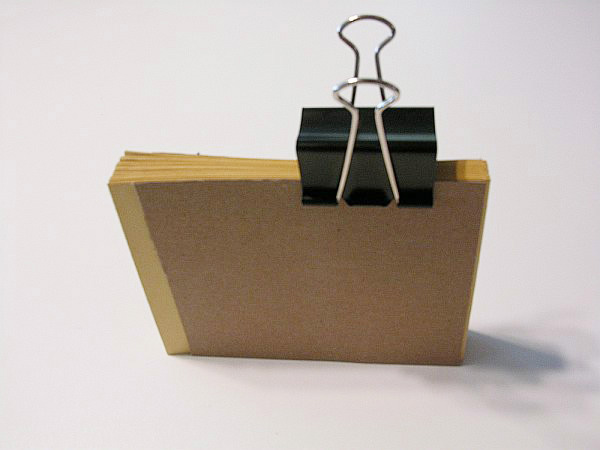
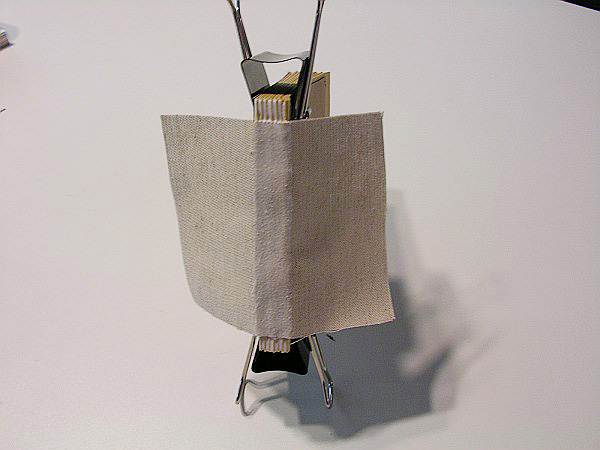
Clamping the spine end with large binder clips (here I use cardboard to protect the pages) and allowing to compress overnight helps with having flatter signatures for sewing.
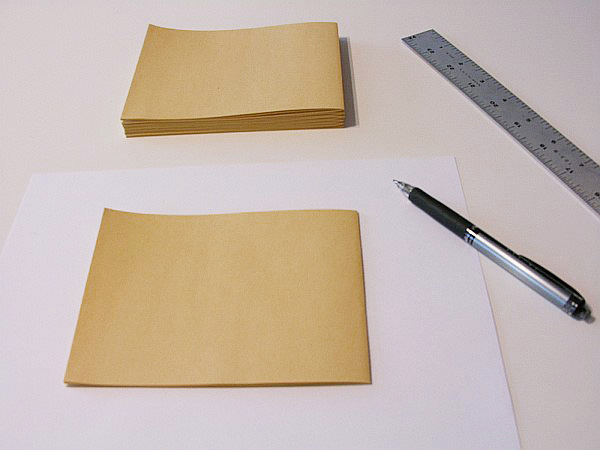
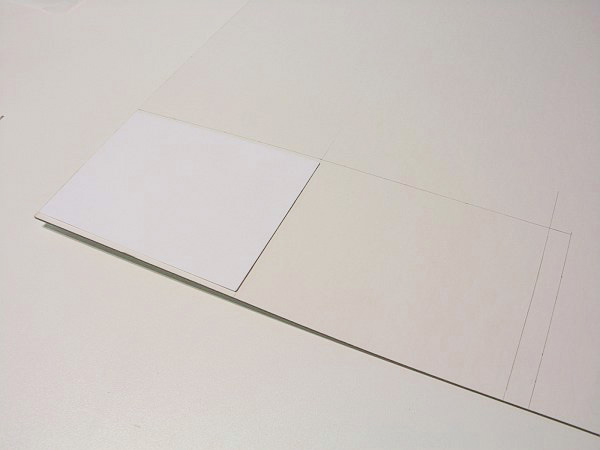
It helps to make a pattern of your page for later use in measuring and cutting board, endpages, etc.
Lay one of your signatures on a blank page and trace, then cut.
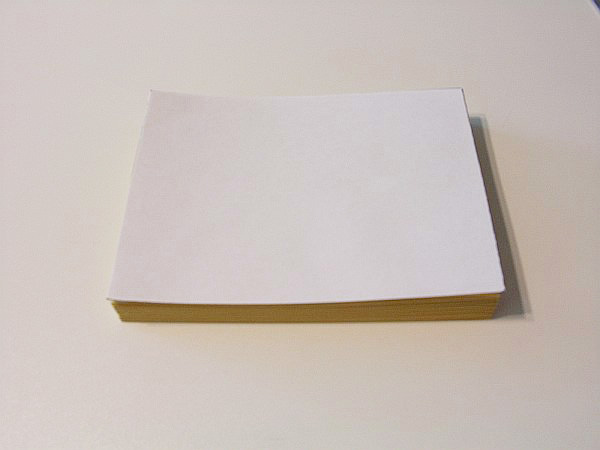
Perfect.
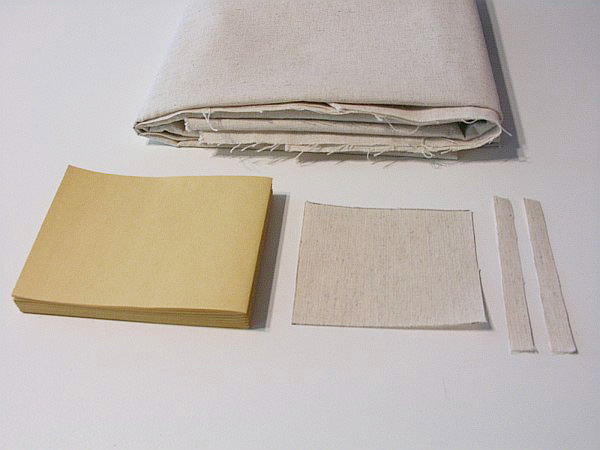
Measure and cut linen tape and mull cloth for the backbone. I use a 50/50 cotton/linen blend for both my tapes and mull. For a large book, you will want 3 strips of tape. For this small book, I will use two at a 1/2-inch width. Cut the mull cloth about a half inch shorter at the top and bottom than the length of the spine, and 2 inches wider on either side of the spine.
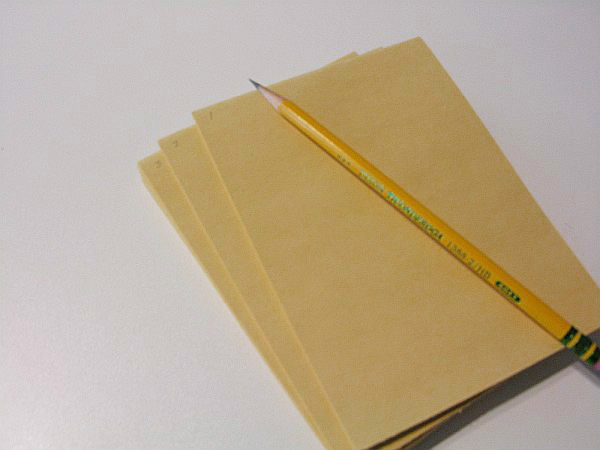
Number your signatures at the bottom of the page near the spine. This is especially important if your pages have printed material on them. This ensures that everything stays in the correct order. Also, squaring up will be done on the top edge of the book for a clean, straight edge. The numbers work as a place marker as to which end is up and which end is down.
Next, we mark the spine to show where to punch holes for sewing. I square up the pages and then clamp them with binder clips to hold everything tidy.
Mark 1/2 an inch from each end, and then evenly space marks on either side of where your tapes will lie across the backbone, allowing just a little extra room on either side so that the stitching doesn’t pinch your tapes. Make sure your lines are even and straight.
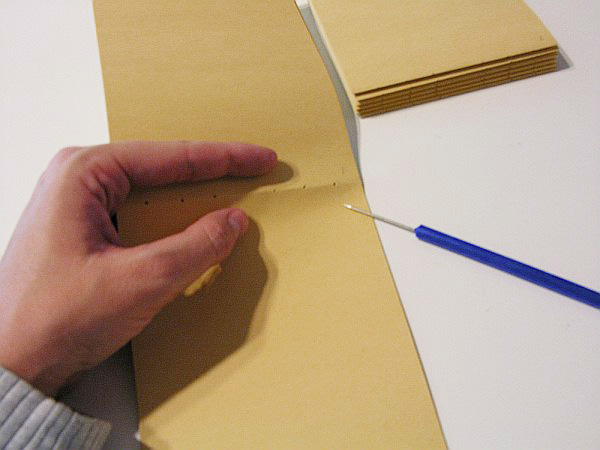
Time to punch holes at your marks with an awl or needle. Use a very narrow needle so your holes are not unnecessarily large. Unfold your signature, paying careful attention to keep everything aligned, and gently push the awl through from the outside just enough to make a hole.
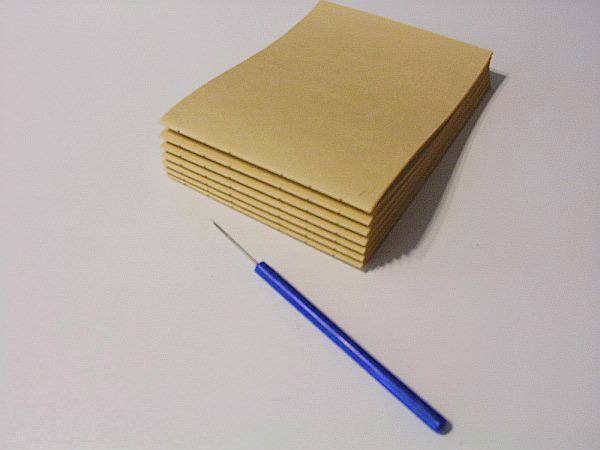
All holes have been punched.
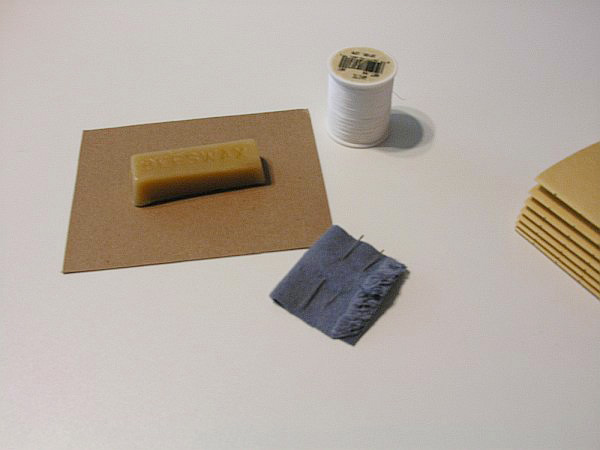
Clear off your workspace and assemble your materials for sewing. Choose a sturdy thread (unbleached linen thread is good) and an appropriately sized needle.
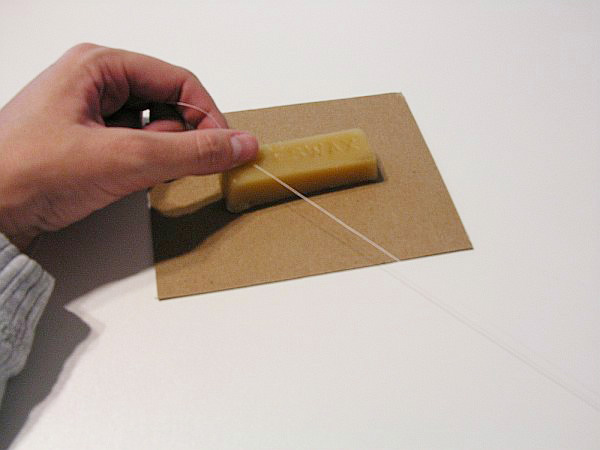
Draw a length of thread, 20 or 30 inches in length, across a beeswax block two or three times to coat. This helps your thread to stay tangle-free and helps prevent tears in your paper while sewing. Thread can be rough on paper, so coat it well. (Fabric stores often sell little kits for waxing your thread.)
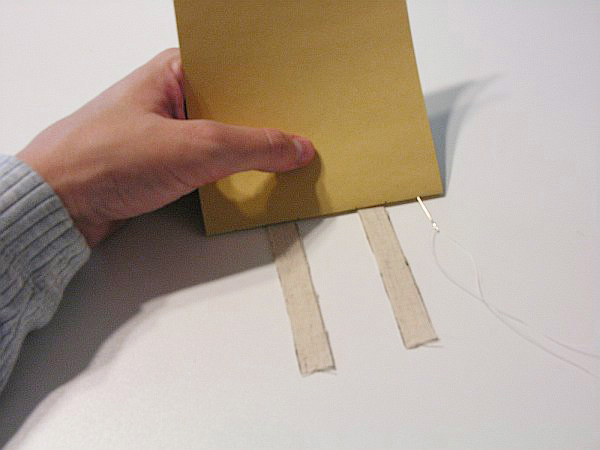
To begin sewing, start with your last signature and work forward. This is where a sewing frame would come in handy, but I don’t find it to be necessary for smaller books. Your tapes will be held into place as you sew over them. Knot your thread and push the needle into the end hole at the right to start.
From inside the signature push the needle back out the second hole, cross over the tape, and down into the third hole. Continue in this fashion until you’ve completed the first signature and your needle is out the end hole. For the first signature simply sew back down into the end hole on the next signature. Continue sewing back across the second signature until you come out the end hole on the right. Tug to make sure everything is snug, but don’t pull hard enough to tear the paper. Then tie your thread around and below the original knot.
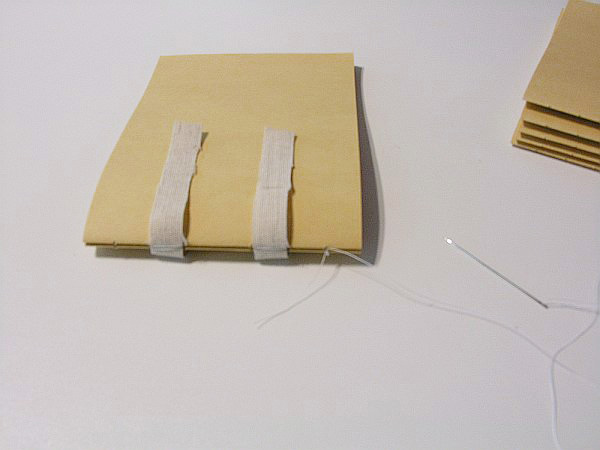
Continue adding signatures (taking care to keep them in order!) and sewing them together in the same fashion. At the end of each row loop your thread under the thread of the previous signature, and then again through the loop that you just made. Pull snug. This keeps everything secure.
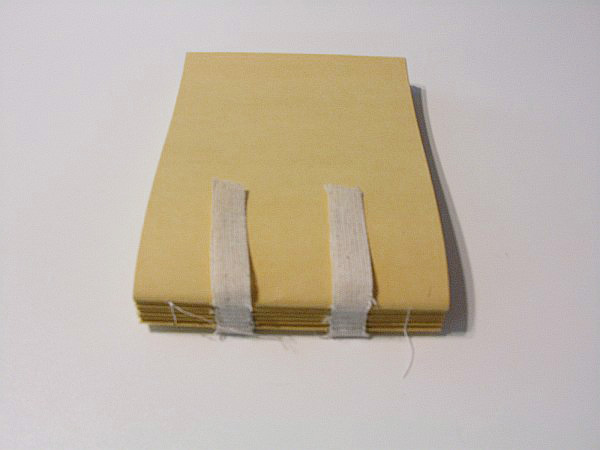
When you’ve sewn together all signatures, loop and tie off your thread.
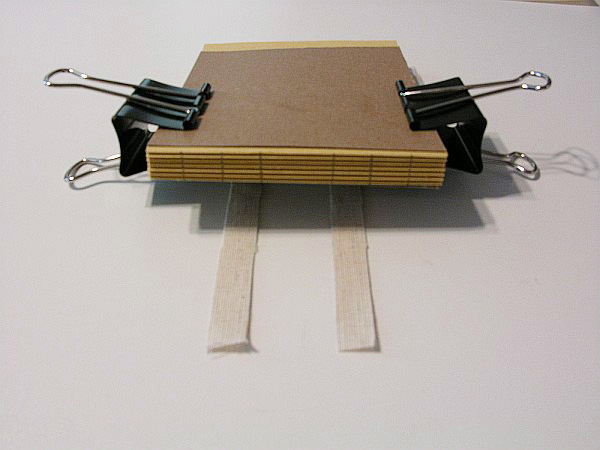
Tug tapes to remove any wrinkles that may have built up during sewing and adjust so that there is the same amount of excess on either side of the spine. Good.
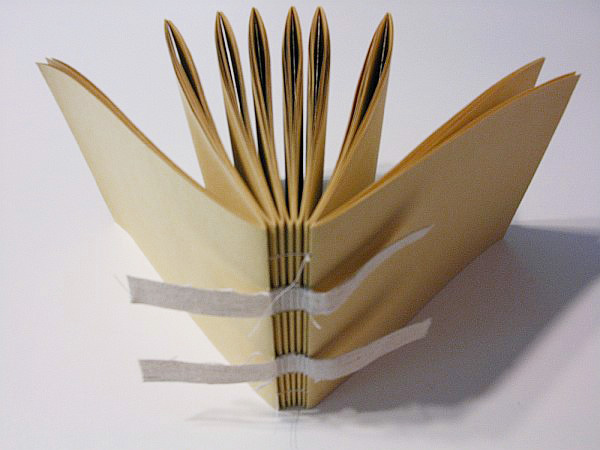
You will notice first thing that between your signatures there is a pretty obvious gap, even if you sewed snugly. This is normal when binding books.
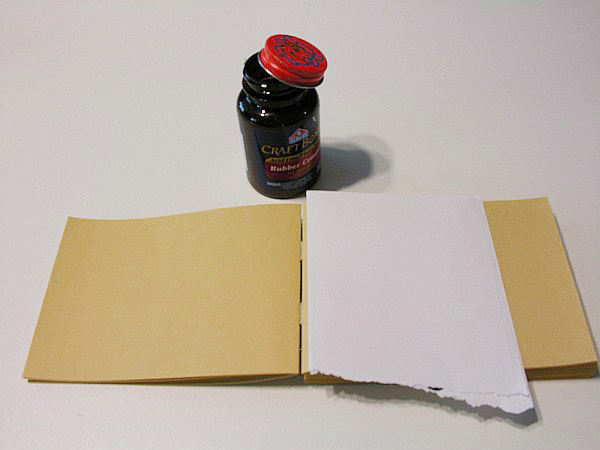
Take a piece of folded scrap paper and lay it 1/8 of an inch away from the gap between the first and second signature. Pressing the scrap paper down, spread a thin layer of glue (I’m using an Acid Free/Photo Safe rubber cement because it dries quickly and won’t wrinkle the paper) down near the gap. Remove the scrap paper, close the book, and press down firmly for 10 seconds. Carefully flip the book and do the same to the last signature.
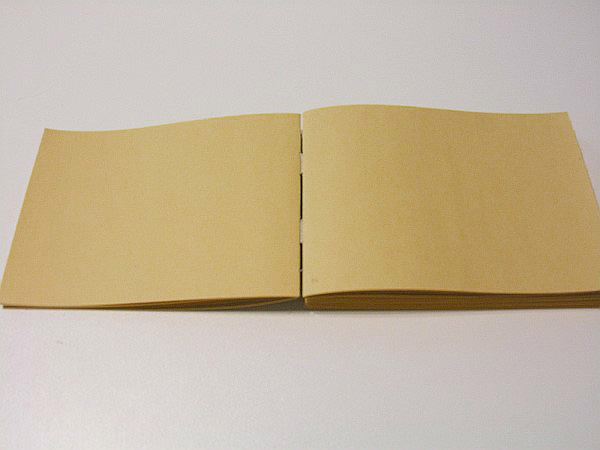
Continue flipping the book and gluing the gaps between signatures until you reach the center of the book. When you’ve finished, put the pages in clamps and allow them to set. This process forms a temporary bond to hold the signatures in place until the backs are glued.

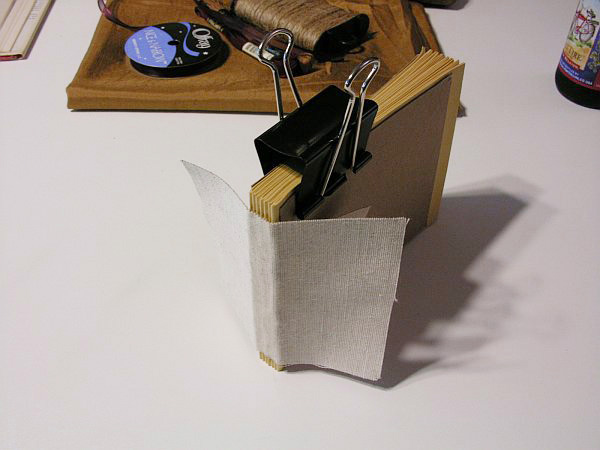
It is time to glue the mull onto the backbone of the book. A press would be useful here to hold your book spine end up.
Lay your mull across the backbone of the book and center it. There should be a two-inch overlap on either side. Take a pencil and rub the side of the tip gently across the edges of the spine to make a mark on the mull. This will give us a guide to know where to spread the glue. I am using PVA glue that stays flexible when dry. Coat the center of the mull with glue between where we have marked with pencil lines.
Work the glue down into the weave of the fabric. (I like to use my fingers for all gluing. I’ve found I can work it in better, get a nice even spread, I can feel what I am doing better, and clean up is easier. Regardless of whether you use a brush or your fingers, keep a damp cloth and a dry cloth nearby for quick cleanup.) Spread glue across the backbone of the book, working it down in between the signatures and into the weave of the tapes. When this is done, center and press the mull down onto the spine.
There should be about 1/2 an inch at the top and bottom of the spine that is not covered by mull. Spread more glue across the top of the mull and work it into the weave. Keep the book in clamps or press for a couple of hours or overnight to dry.
Prepare cover materials
In the meantime you can start preparing the cover boards and, in my case, make many last-minute changes as to what materials you plan to use.
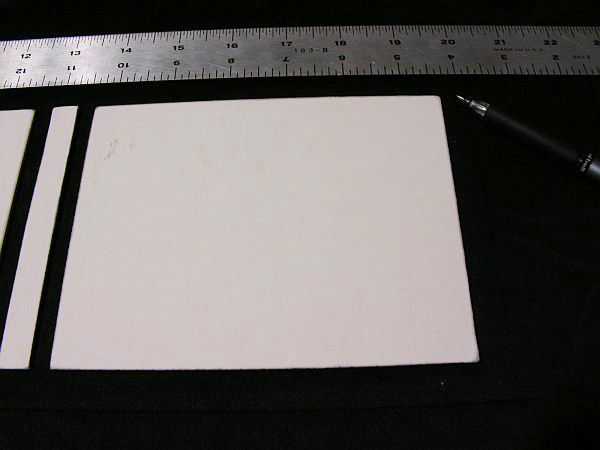
Using your pattern as a guide, measure out your cover boards. (Here I am using pressed illustration board.) You will want the width to be the same as your book page pattern (this will be staggered a bit to cause an overhang) and with 1/8 of an inch additional at the top and bottom. The spine board should be approximately the thickness of your book PLUS the thickness of your cover boards. Do yourself a favor and double-check your measurements! (I speak this from experience. Ahem.) Using the pattern against your measurements is a good way to eyeball indicate if you are off.
When you are sure everything is accurate cut your boards with either a bandsaw, a jigsaw, or if your board of choice permits it, an exacto knife or box cutter against a straight edge.

Your edges may look rough. Take a roll of sandpaper and slough off any gnarly bits, at the same time softening the hard edges and corners. If you rub with your sandpaper in a circular motion, moving back and forth across the edge of the board you should get a good, even edge. Otherwise, parts may sand down more than others and you will end up with a lumpy edge, which is not good.
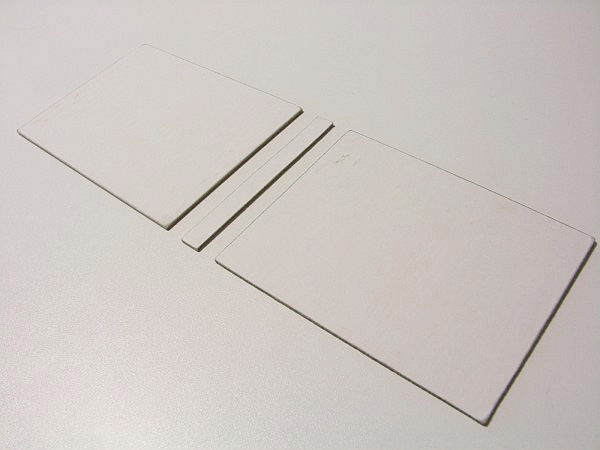
All tidy!
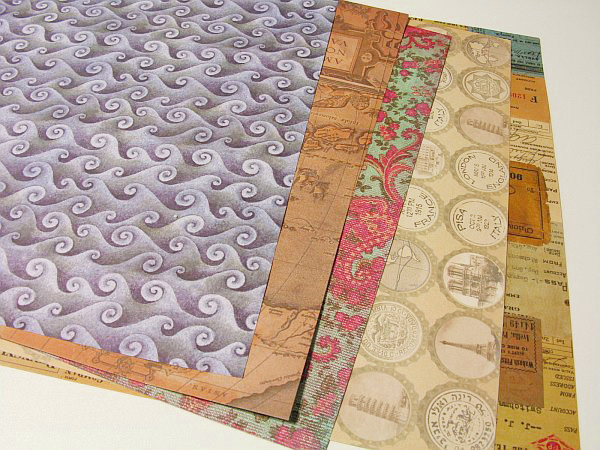
Debate a bit more over your materials.
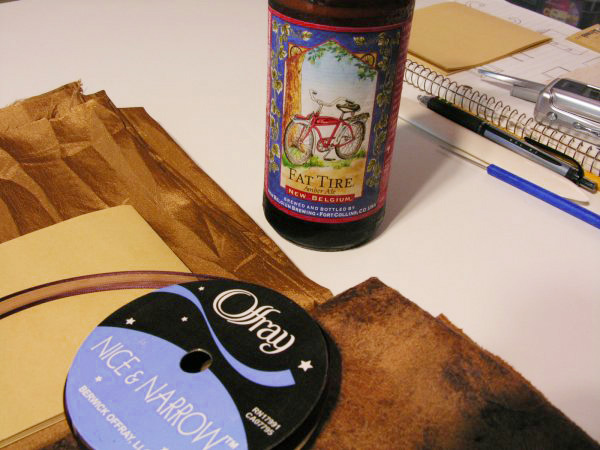
A Fat Tire often helps during this deliberation process.
Our mull is dry! There may be a bit of tightening / shrinking as the glue dries, but this is okay.
Headbanding

I want to do headbanding on this book, so we need to punch more holes. Measure and mark where your holes will be, just above the top of the mull, using the same method as before. To punch holes, hold each signature open and punch through from the outside, paying careful attention that the needle comes through in the center of the crease on the inside of the signature. (A piece of cardboard is useful like a bookmark.)
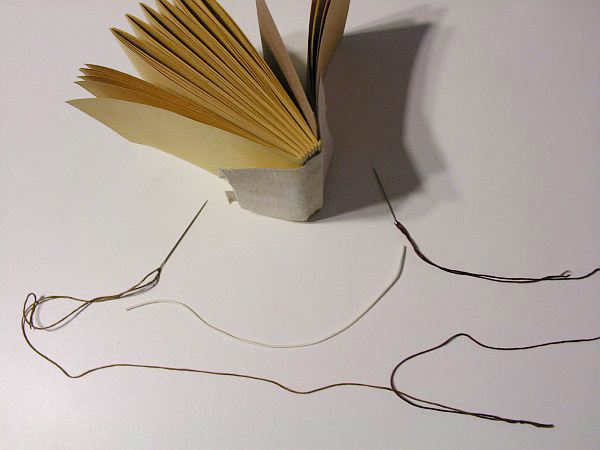
For headbanding you need a length of cord to loop around and (for two-toned headbands) two lengths of embroidery thread in different colors tied together at the end. Wax all of these with your beeswax block.
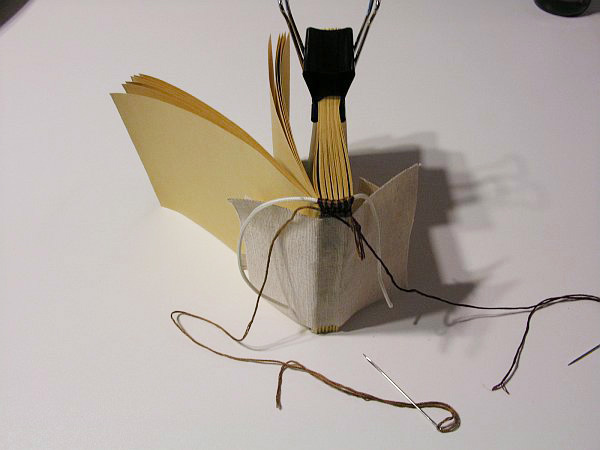
I keep completed signatures clipped with a binder clip to keep them out of the way and keep myself more organized.
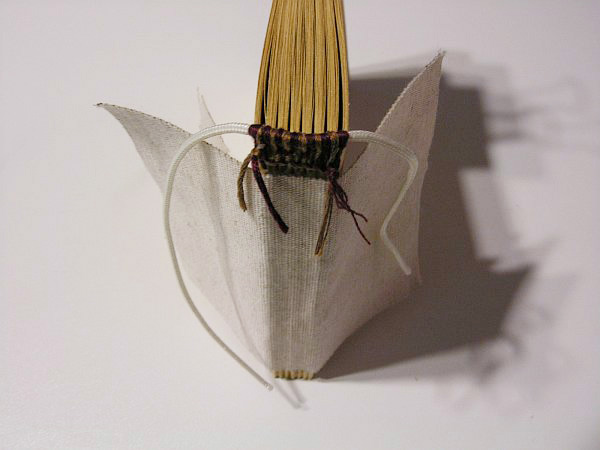
All done. Cut off excess embroidery thread. Also, trim cord to within 1/8 inch on either side. This can be trimmed more precisely later with a razor blade. Touch a bit of glue on the ends to keep the embroidery thread from unraveling.
The cover
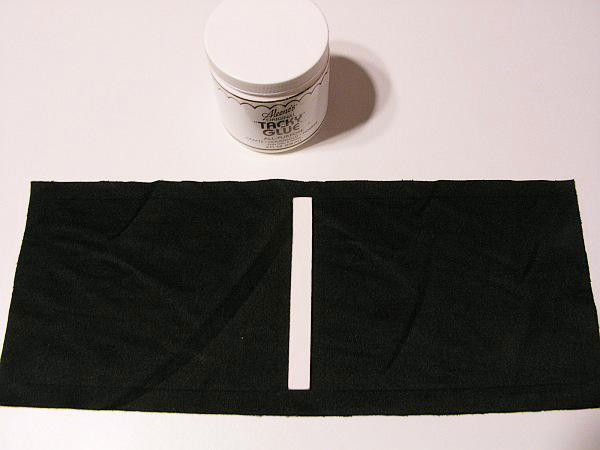
Commit to a cover material, either fabric or paper and lay face down. Place your cover boards across the back of your material and trace. You want the gap between the spine and cover boards to be approximately the thickness of two boards. Then, using your cover boards as a pattern, measure and mark 1/2 inch around each side. This will give us enough excess for turnover. Cut out your material.
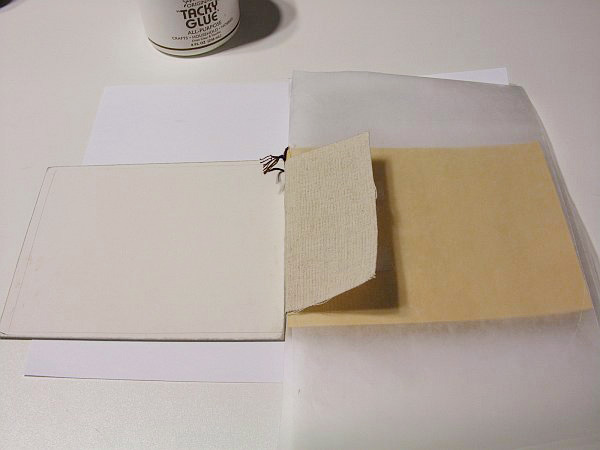
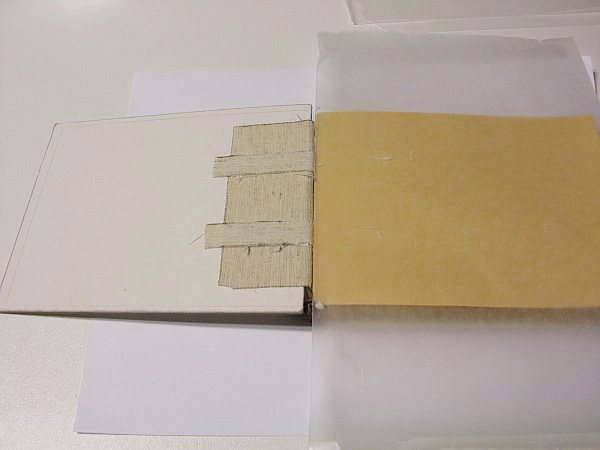
Now we attach our signatures to the cover boards. At this stage, it will begin to resemble a *real* book! From this point forward we will use a lot of wax paper. It is easier to cut a whole stack of sheets to size, slightly larger than your cover, and have those within easy reach. With your book pages face up in front of you, place two sheets of wax paper beneath the mull but above the tapes. Spread glue across the mull, working it well down into the weave. Remove the top sheet of wax paper and discard.
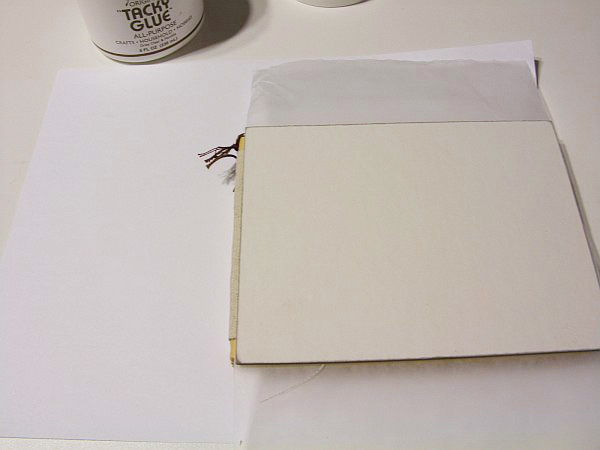
Carefully align and press the cover board onto the mull. Stagger the cover boards about 1/8 inch from the spine. This allows our book to open and close freely without scraping against the spine board. It also gives us an overhang along the right-hand edge to match the overhang along the top and bottom.
Open the book cover to check if the mull is in place. Use a rubbing cloth to stick the mull firmly down and work out any wrinkles or air bubbles. Leave the second sheet of wax paper in place to keep glue from sticking to your pages. Flip the book over and attach the back board in the same way. Place under weights for about 1/2 an hour.
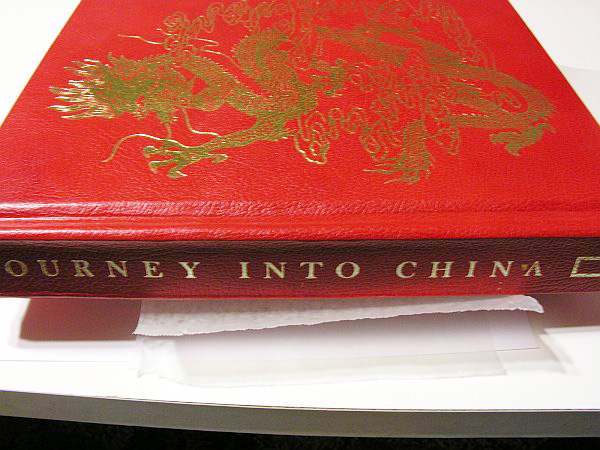
Here I use a handy dandy gigantic book on China, which is very heavy.
Using the same method as above, spread glue and attach the tapes to the cover board. (You can trim your tapes to be flush with the mull if you want.) Flip and do the same for the back cover.
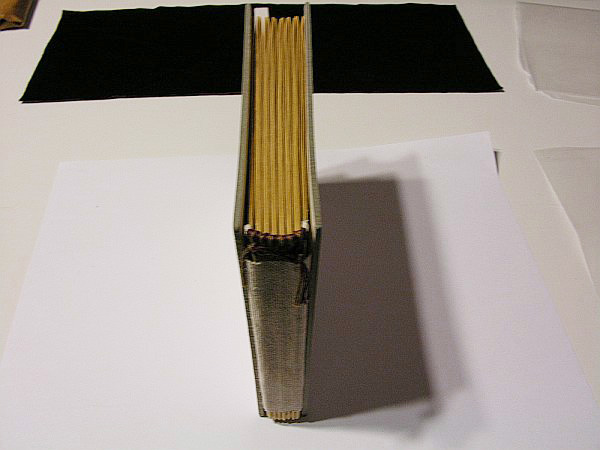
If you’ve paid careful attention to alignment your book should stand on its end with no slanting or unevenness. Place the book under weights for an hour.
Cover material
While waiting you can attach the spine board to your cover material. With the material face down, rub glue into the spine area (which should be marked with pen or pencil. In this case you can’t see the lines because my material backing is black, but they are there.) Center and press your spine board into place. Flip the material over and use a rubbing cloth on wax paper to work out any wrinkles or air bubbles, and then flip back over. Place under weights and allow to dry.
Ribbon bookmark
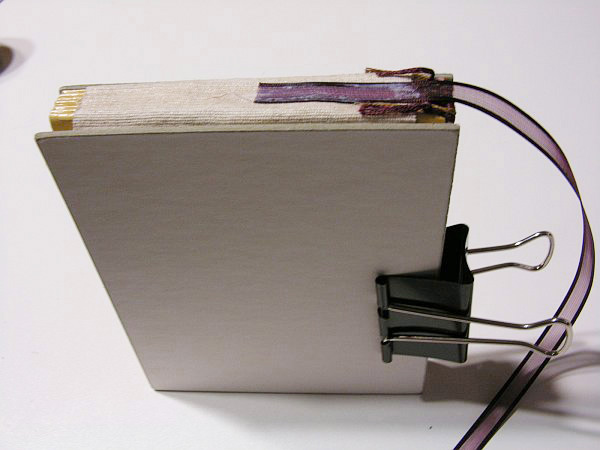
I’m attaching a ribbon bookmark, so when the mull and tapes have sufficiently dried the book is turned onto its side and I position my ribbon across the mull on the spine. Using my fingers I glue it down and saturate the back of the ribbon also with glue. Cover with wax paper and place this under weight for about 1/2 an hour to dry. (Note: if you are using glued-on headbands you may attach the ribbon beneath the headband, rather than on the outside.)
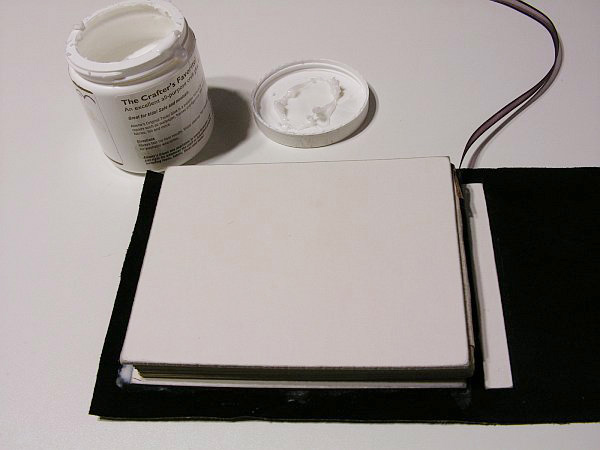
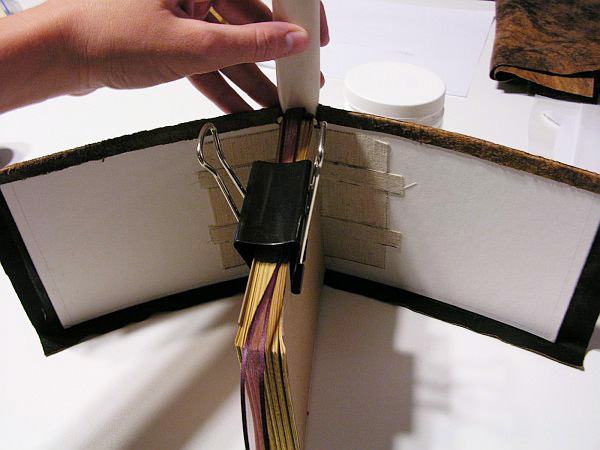
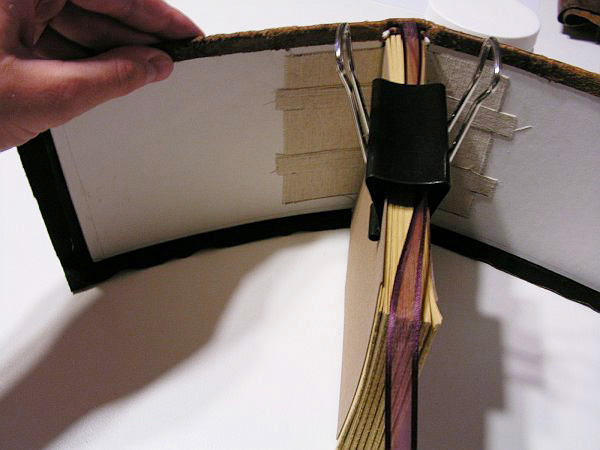
Now it’s time to attach our cover boards to the cloth or paper cover. Using the guidelines that we marked on the back of the material previously, spread glue all over the inner area of the front cover material, allowing a bit to go outside the lines. Carefully align and press the front cover onto the glued area, making adjustments as needed to keep it centered. When aligned properly, flip the book over and use a rubbing cloth over wax paper to work out any bubbles or wrinkles. Press the material down into the crack between the cover board and the spine board.
Do the same for the back cover, then place beneath weights for an hour.
The next step is to miter the corners. I would like to do a more in-depth tutorial on this later if there is interest. ??
Now it is time to glue the turnover. We glue tops and bottoms first. Lay your project over a piece of wax or scrap paper and spread glue all the way across the top edge of the turnover. Turn the book on its end and start turning the material in at the spine. Bend it down behind the backs of the signatures. You can use your bone folder if necessary to work it down and press it flat. Then work your way along the top edge to the left and right and fold over the turnover with your fingers, working out any wrinkles as you go. Flip the book over and do the same with the bottom edge.
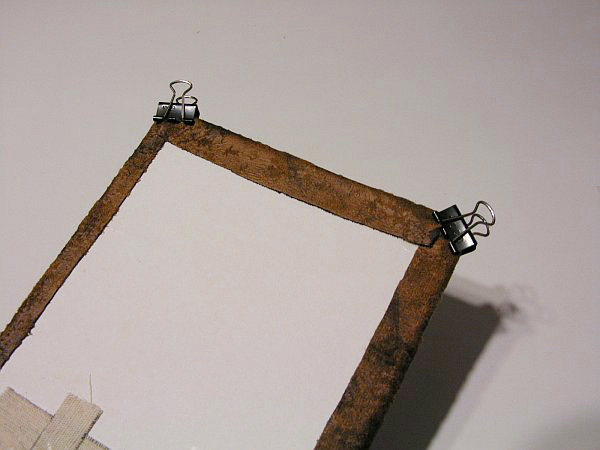
Again, a more detailed tutorial is necessary for folding corners. There are different ways of doing this, and with thicker materials (as I am using here) it can be tricky. After gluing down corners and side edges I use small binder clips to hold bulky areas down while the glue dries. Place the entire book under weights for 1/2 an hour.
End papers
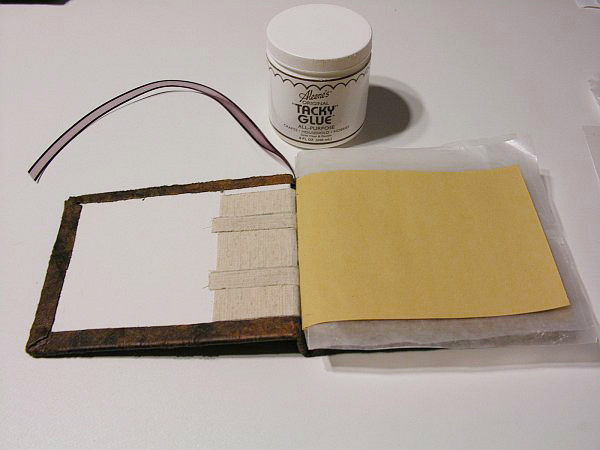
To finish up our book we need to glue down the first and last pages to the cover boards. This will hide the unattractive mull and tapes. Place two pieces of wax paper beneath the first page and spread glue, first near the spine, then working outward to the edge of the page. You will have to work quickly because the paper will suck up the glue and start to wrinkle. Discard the top sheet of wax paper, then lift carefully the bottom sheet of wax paper. Using the flat side of your hand, press the paper into the cover board. Work up from near the spine until the whole page is attached. If the alignment is crooked, gently unstick and re-align.
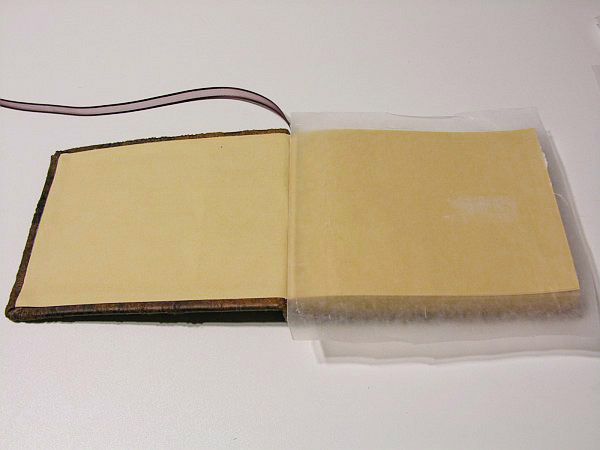
When everything is in place, use a rubbing cloth to work out any wrinkles or bubbles. Place an extra sheet or two of scrap paper beneath the wax paper and close the book firmly. The extra paper keeps moisture from the glue from being absorbed into the other pages of your book, which will wrinkle them.
Flip your book over and attach the last page in the same fashion.
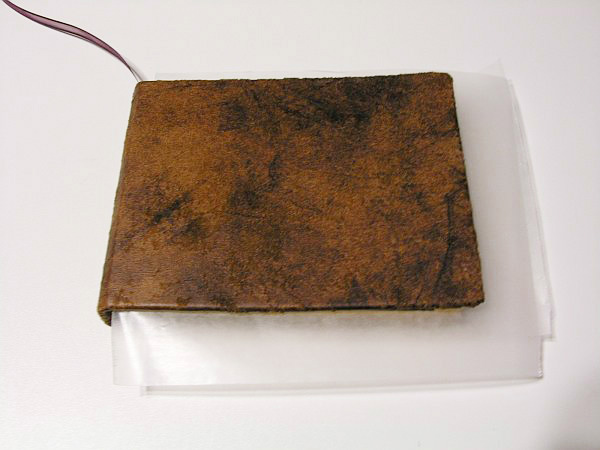
When completed, place the entire book under weights overnight. A good, long dry under pressure is necessary so that your book doesn’t warp. Afterward, you can attach decorative endpapers if you wish, using the same method.
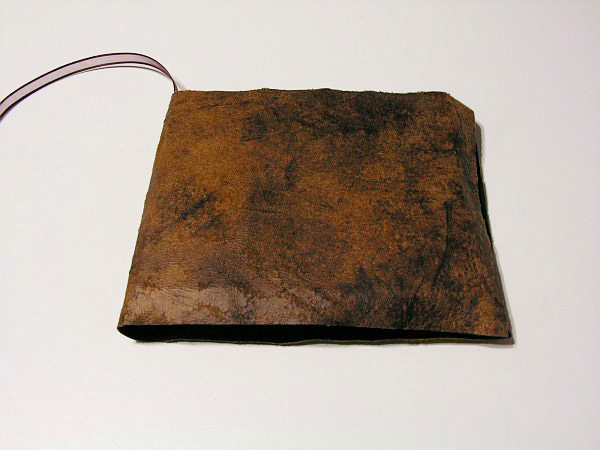
End result
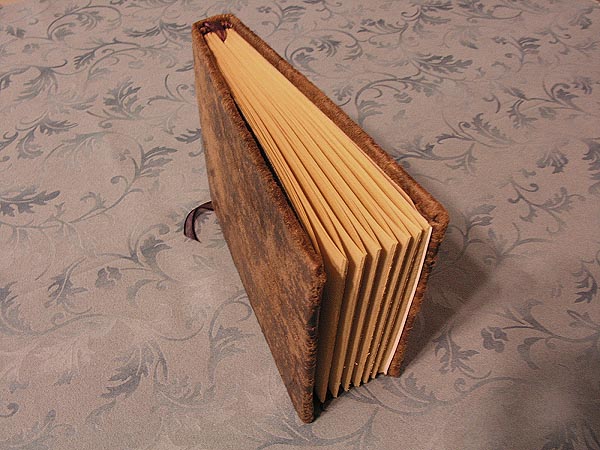
The end result.
If you enjoyed this bookbinding tutorial and all that went into creating it, say thanks by buying me a coffee! ☕️